

Introduction
When telling a story, using more interesting and varied language makes the narrative more engaging and personal. The same is true of creating pictures. More unusual and contrasting marks can help the viewer see more, and stay more engaged. In this resource, we will look at how you can develop your mark making.
Exercise 1
We will start by creating a dictionary of marks. Take a large sheet of paper and try to fill it with as many ways of making marks as possible. Think about speed, pressure, direction, and the smoothness of the line. How many marks can you create? You may also want to hold your charcoal in different ways, or draw with your other hand.
.png?width=857&height=857&name=Screenshot%20(8).png)
Exercise 2
On a large sheet of paper, begin a self portrait, but only use soft, flowing lines drawn quickly. Try to keep the pressure of the lines as light as possible. This should create a sense of flow. You can focus on the curve of the face shape and the eyes. Do not worry if this style of mark making feels unnatural to you. It is good to try new things.
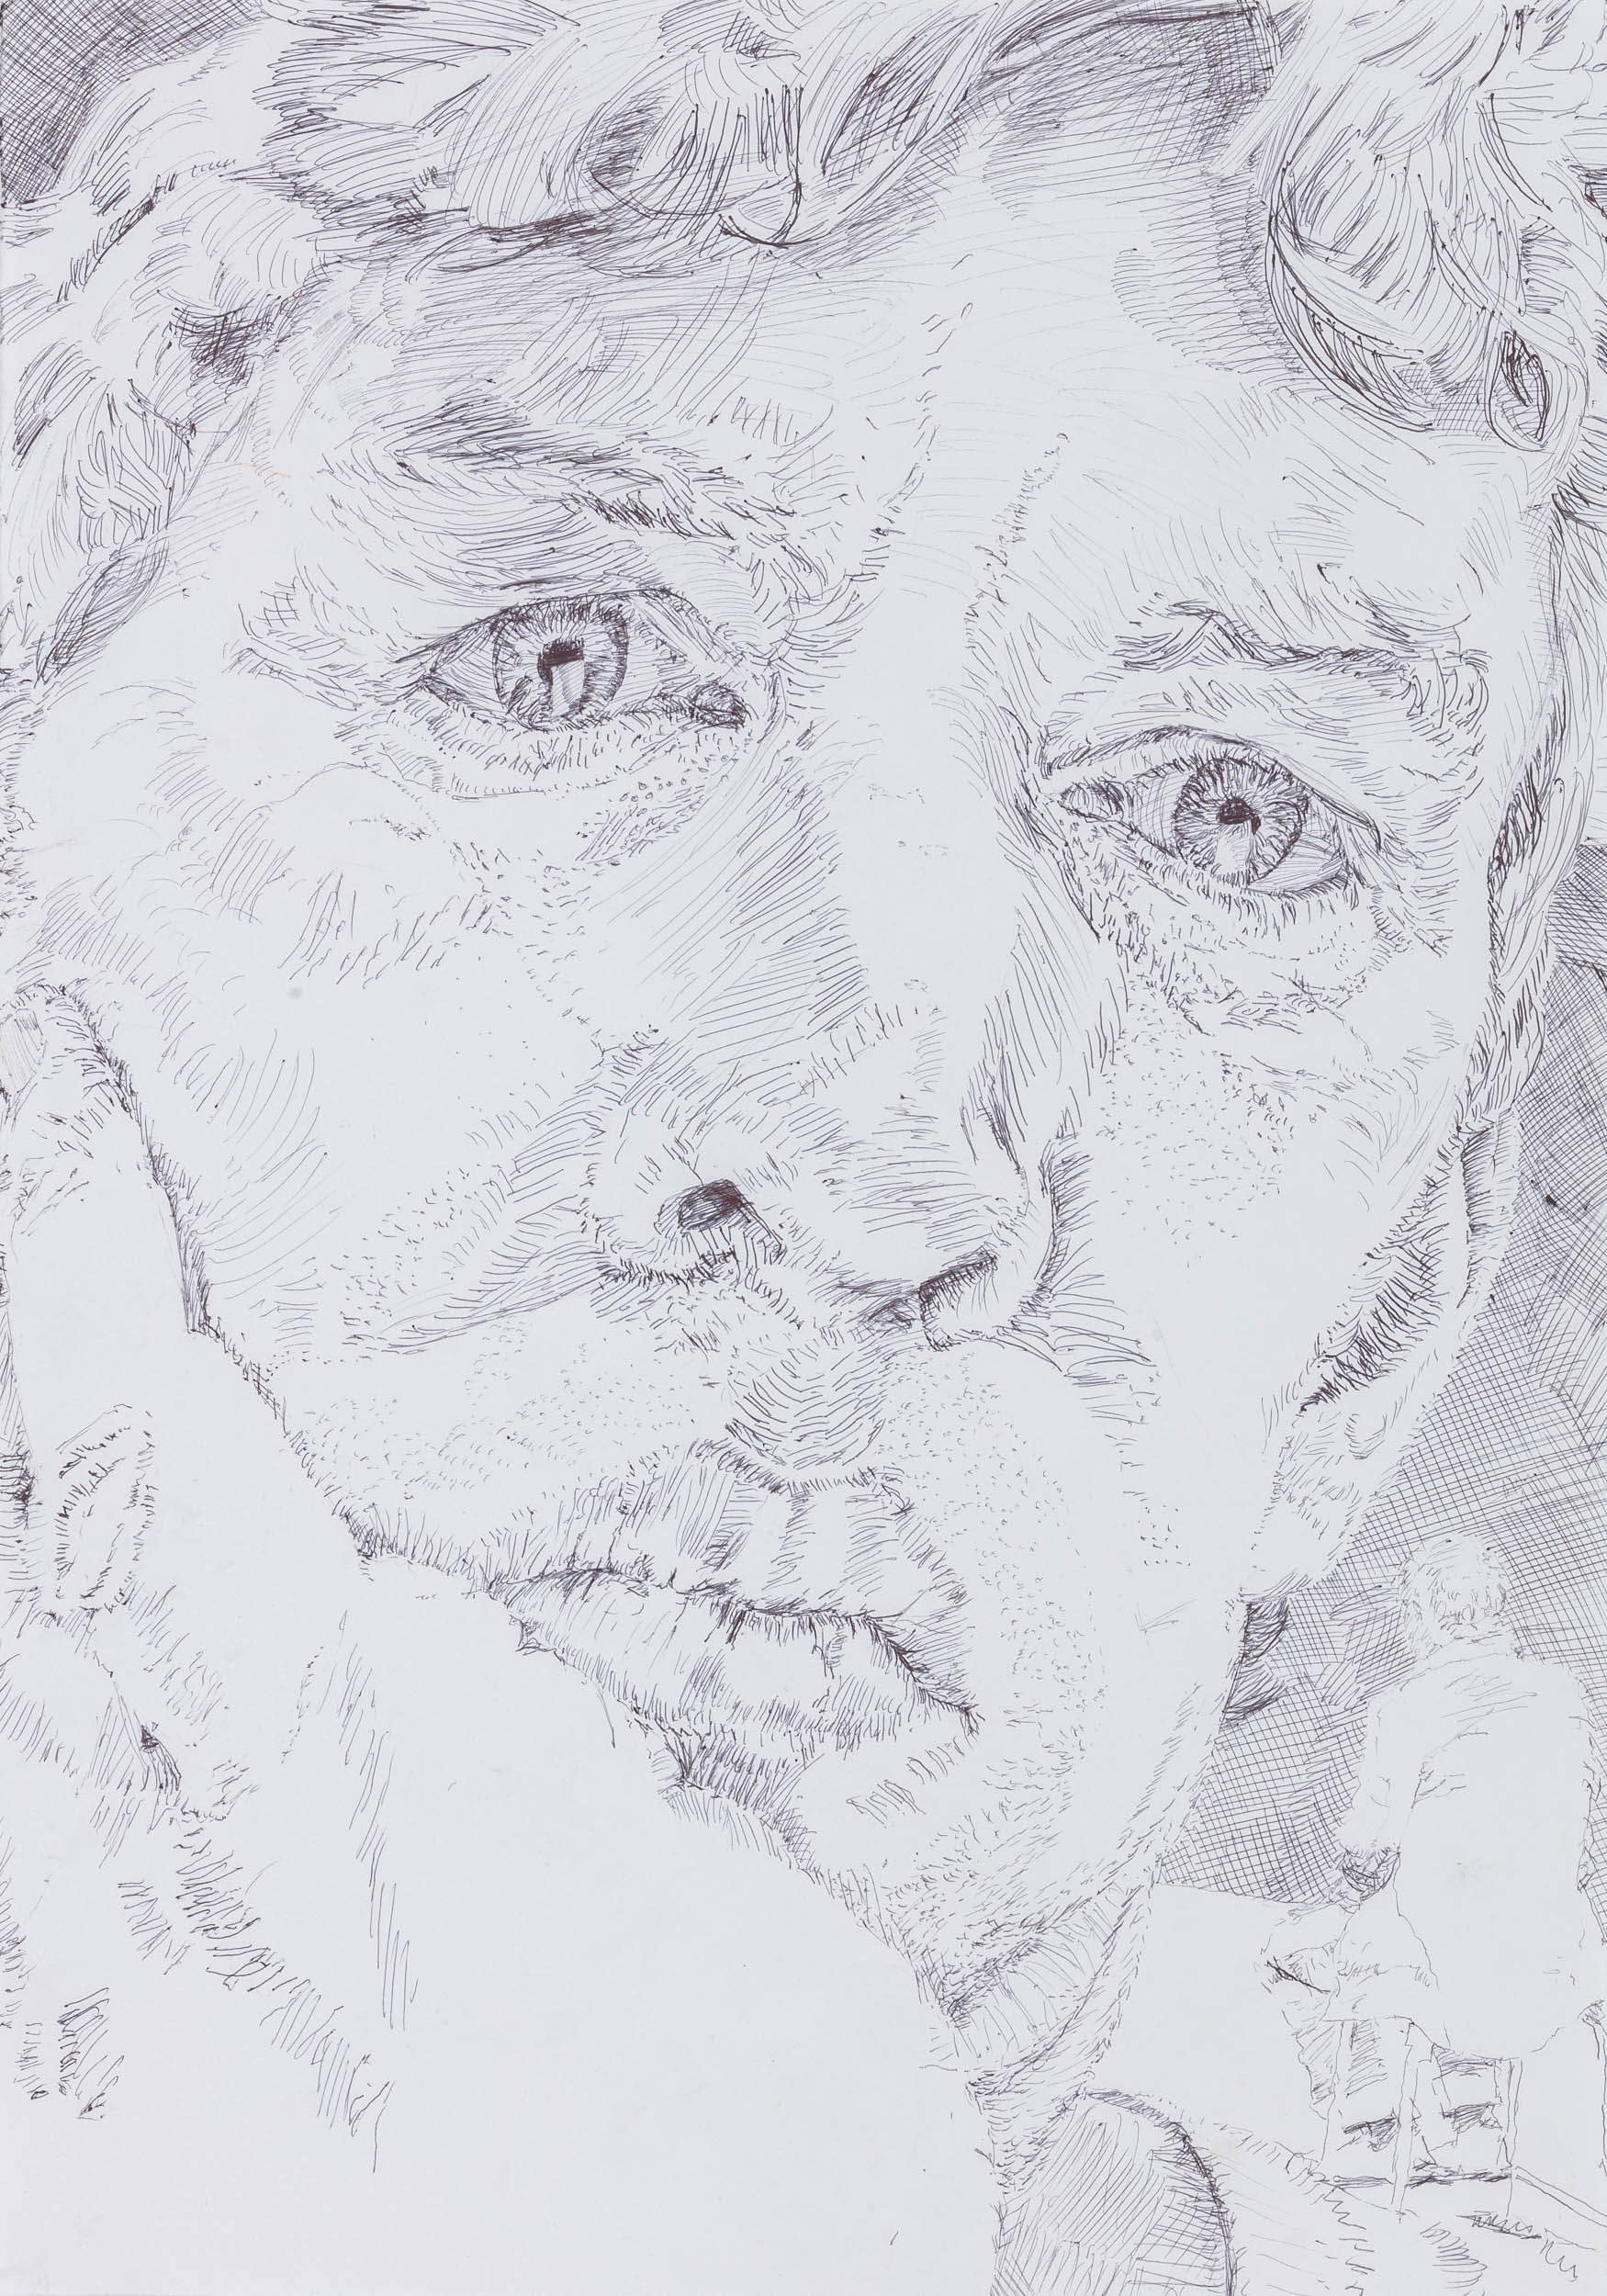
Exercise 3
On the same drawing, now use very slow and heavy lines to build on top. Look for shadowy areas or any areas you would like to emphasise. Pay attention to the contrast between light and dark marks.
Exercise 4
On another large sheet of paper, begin by creating a ground. This is a thin layer of light charcoal drawn evenly across the surface, then smudged to create a smooth base. With the ground, you can draw into it with darker charcoal and also use your eraser to create lighter tones.
For this self-portrait, use your dictionary of marks and include as many mark types as possible while building your self-portrait. Include dots, zigzags, and cross hatching, as well as any other lines you can think of. Be sure to draw with both charcoal and your eraser.